This guide provides a straightforward process for adding new members to a Know Your Dosh account, allowing you to customise their access levels based on their roles. With clear steps and explanations of each role, customers can easily manage account permissions, ensuring the right people have the appropriate access. This resource is essential for anyone looking to efficiently collaborate within the platform while maintaining security and control over their account.
1. Navigate to https://app.knowyourdosh.com/dashboard

2. Click “Settings”

3. Click “Members”

4. Notice the different Roles – Master, Viewer, Editor, Authorized

5. If you want to add a new person to your KYD Account – Click “+ Add Member”

6. Click the “Member full name” field.
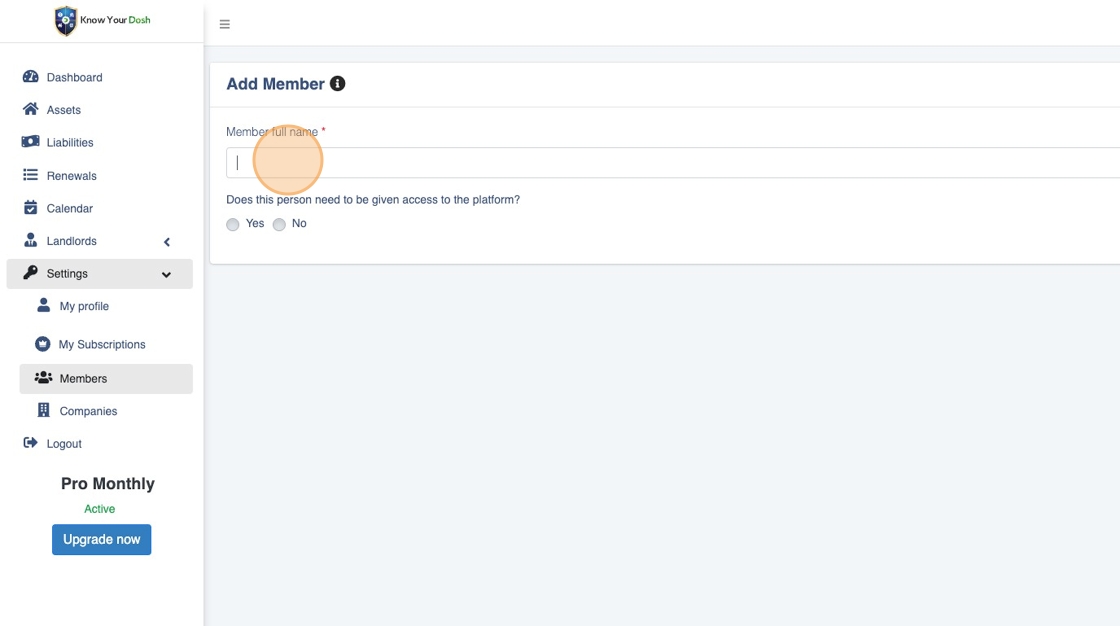
7. Enter their full name
8. Do you want to give them access to view/edit the account in any way?

Assuming a normal non-access granted member who does NOT become part of your household
9. Click the “Notes” field.

10. Click “Save”

11. Notice how the Platform Access is crossed out, since the choice was NOT to give the user access;

Now assume you were going to give them access!
12. Click on the notepad icon

13. Click “Yes”

14. Click “Confirm”

15. Click the “Email” field.

16. Add their email ID
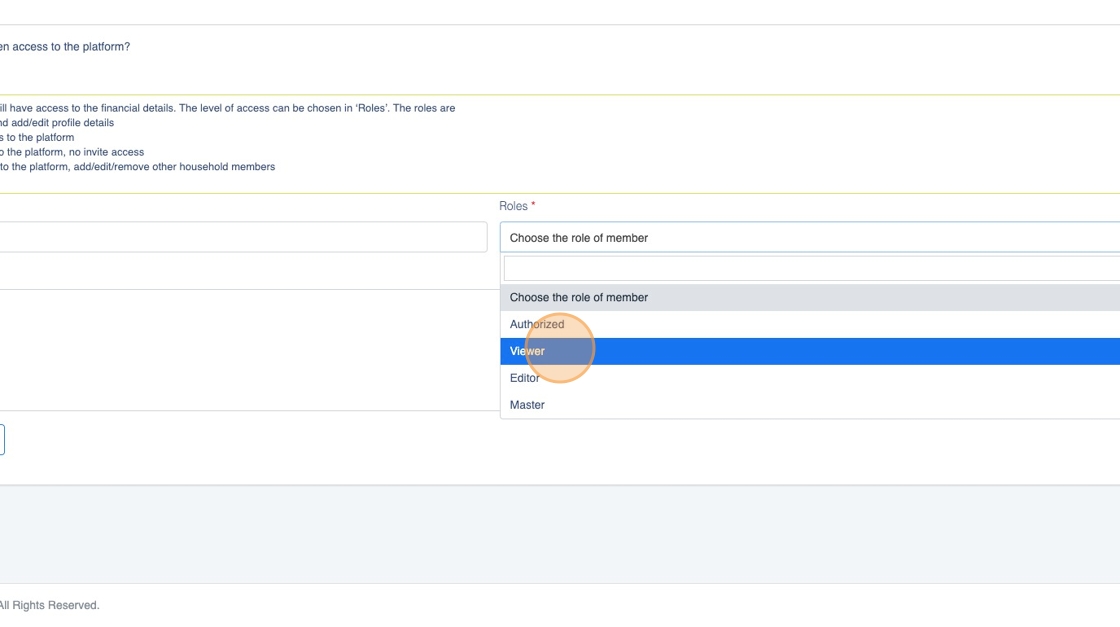
17. Click “Choose the role of member”

18. Choose the right level of access you intend to give them
19. Click the “Notes” field.

20. Click “Save changes”

21. Notice the tick mark after having given them access to the platform

22. In case you want to give them a different level of access, you can by editing the entry and changing the role.

23. The description of each role is on the left side above this dropdown.

24. Click “Save changes”

Awesome, you’ve learned how to add members of different types to your KYD account!


