This guide provides a step-by-step approach to adding a new property tenancy on the Know Your Dosh platform, making it easy for landlords and property managers to streamline their rental processes. By following these clear instructions, customers can efficiently navigate the system, ensuring all necessary details are accurately captured. Whether you’re familiar with property management or new to the process, this guide simplifies tenancy creation, saving time and minimising errors.
1. Navigate to https://app.knowyourdosh.com/dashboard
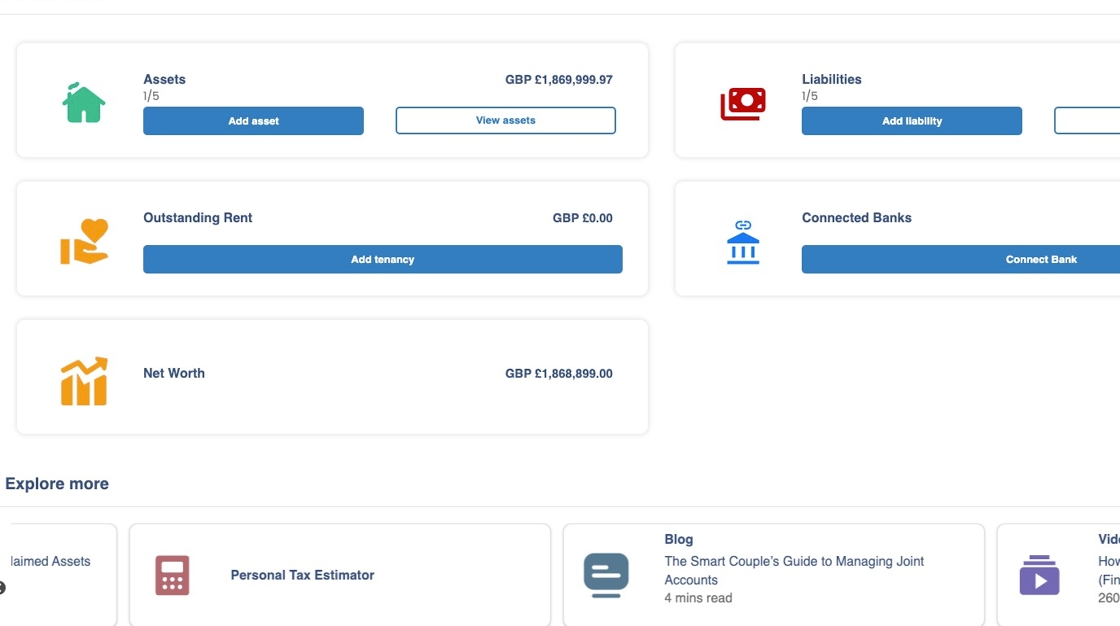
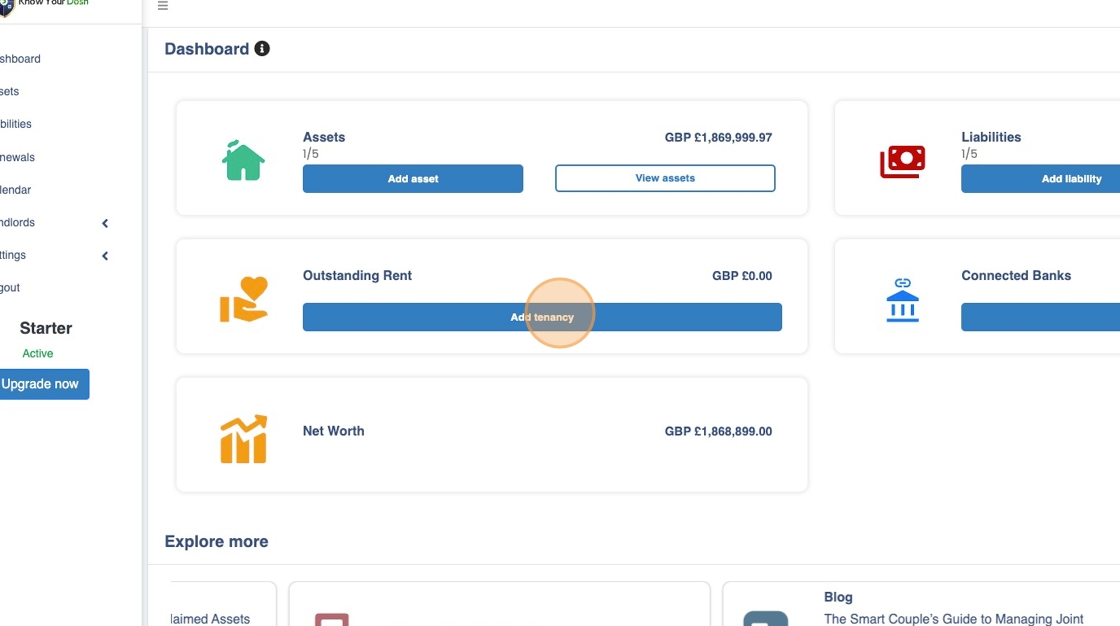
2. Click “Add tenancy”
3. This step can also be done from the Tenancy List page. Here’s how to navigate to this page:
- Click Landlords in the side bar;
- Click on Tenancies;
- Click “Add Tenancy”

4. Click “Please Select” to select an already added property from the dropdown list
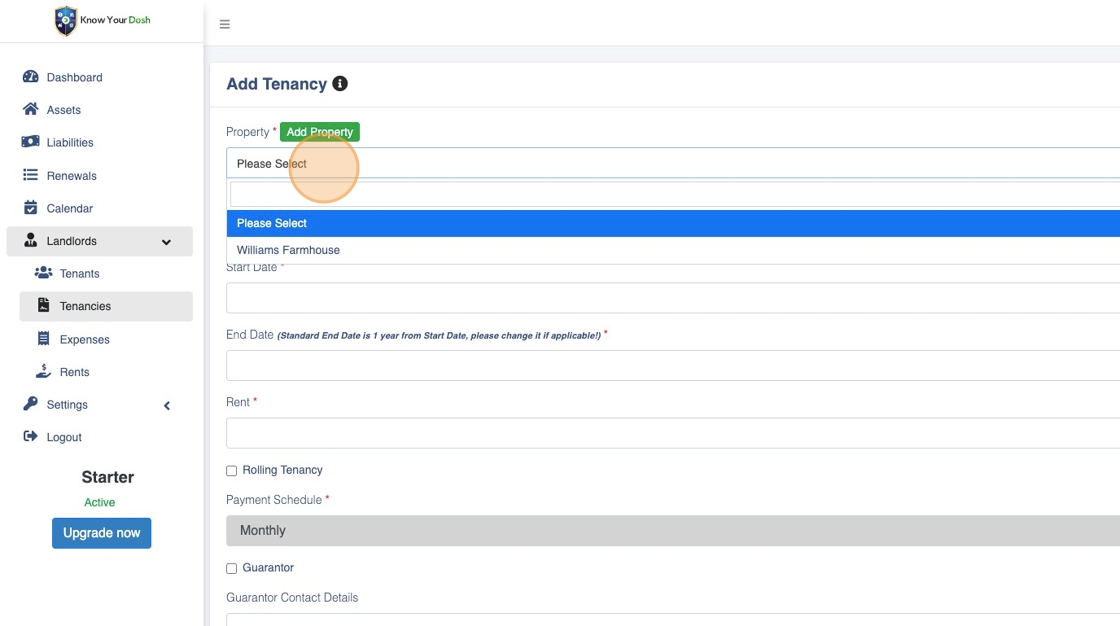
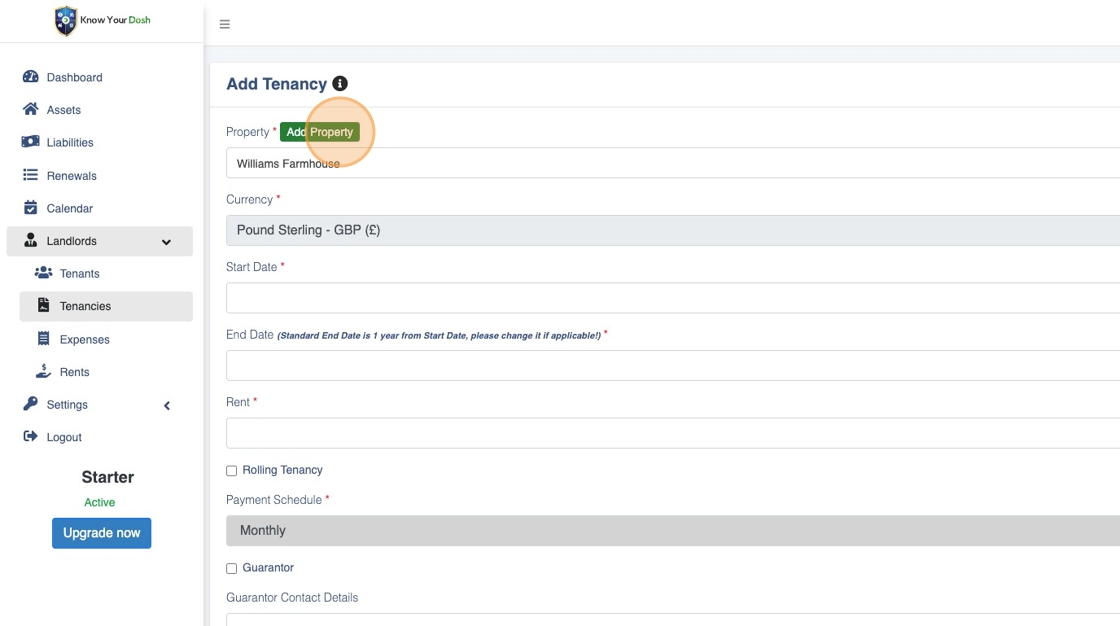
5. Choose a property if applicable

6. If you have NOT YET added the BTL or Commercial property for which you are about to add a Tenancy, then Click “Add Property”
7. The pop-up form is similar to the one you see when you add a Property as an asset via the ‘Assets’ screen

8. Choose either “BTL” or “Commercial” as per which one this property is

9. Add the necessary details for the property

10. Once you’re done and confident all the details added are accurate, Click “Save”to add this new property

Now we continue the Tenancy Creation process
11. Choose the right property for which the tenancy is being added

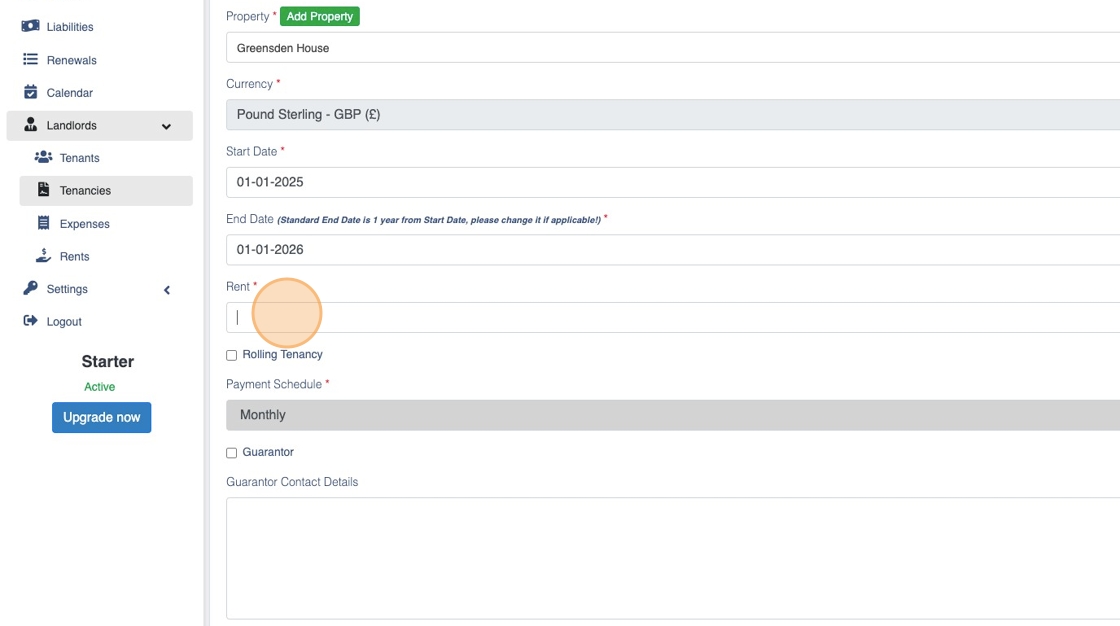
12. Complete the “Start Date” and “End Date” fields

13. Enter the ‘Rent’
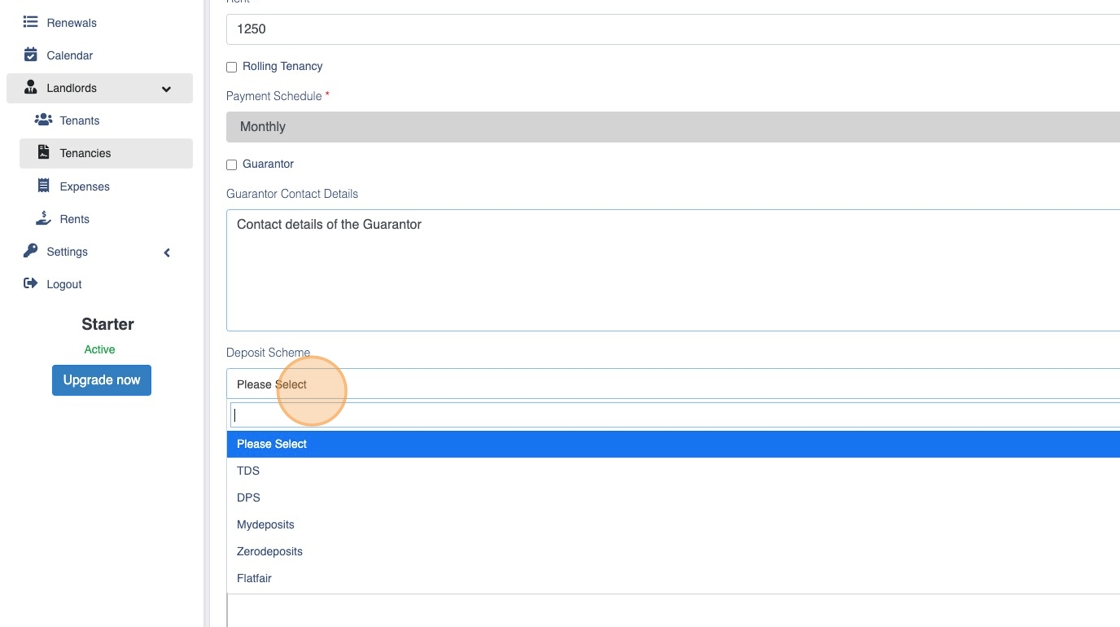
14. Enter the “Guarantor Contact Details” field

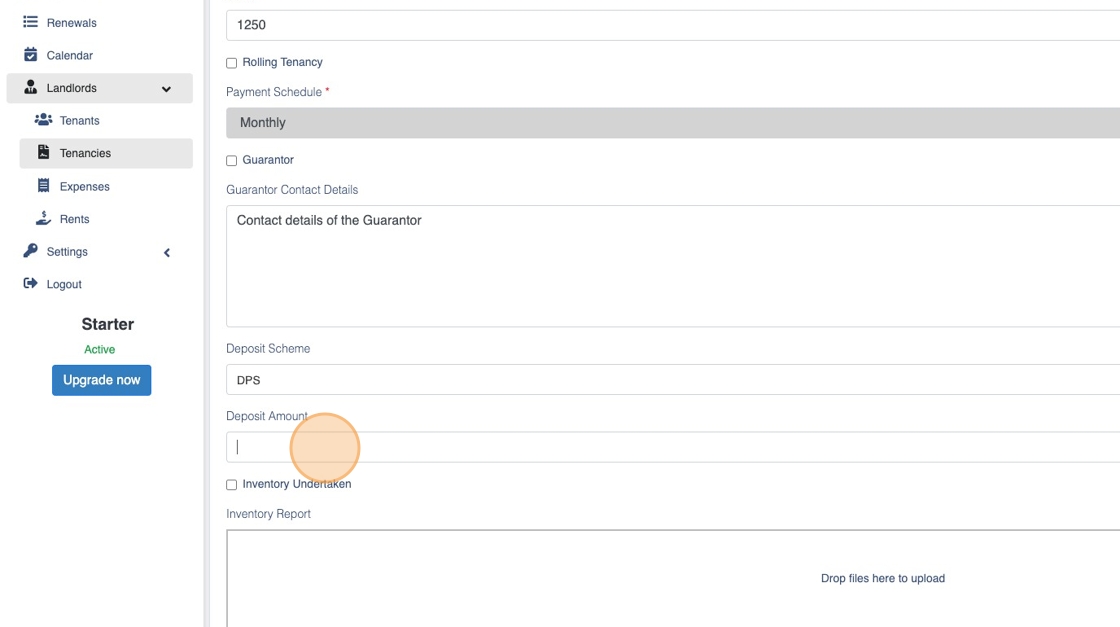
15. Choose the right Deposit Scheme
16. Enter the “Deposit Amount” field
17. Choose the Tenants from the list of tenants added already

18. Add notes for the tenancy if relevant
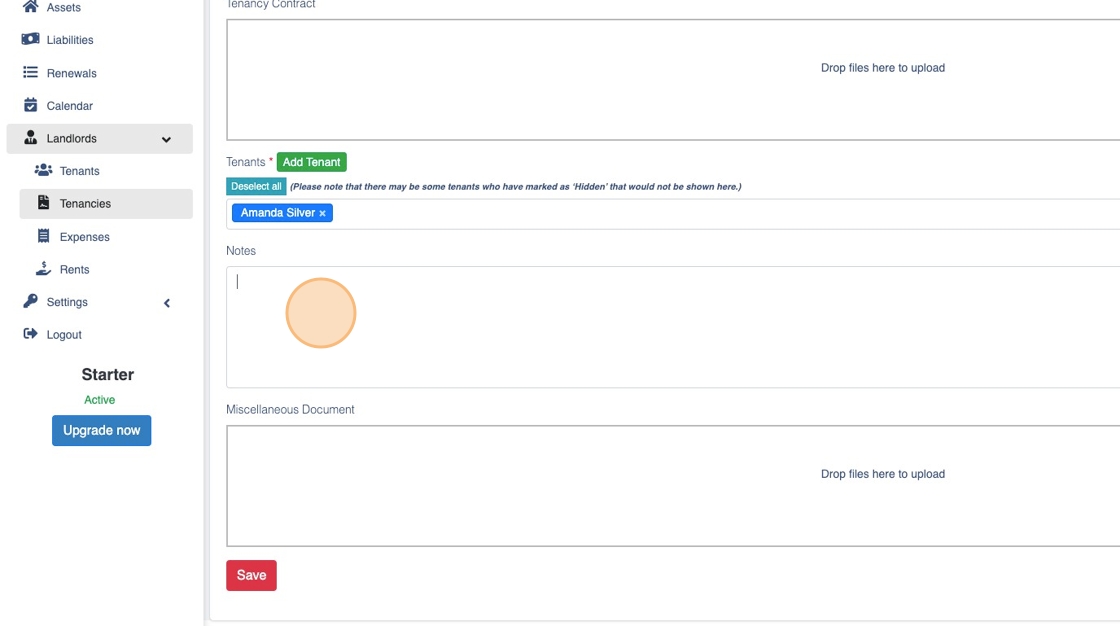
19. Click “Save” to finish the process of adding a tenancy

You have now completed creating a tenancy on Know Your Dosh


